
Removing a window screen starts with identifying how it is attached to the window frame. Some screens use pull tabs or spring-loaded pins, while others rely on clips, screws, or friction-fit frames. The correct removal method depends on the window type, the screen’s mounting position, and its fastening mechanism. Before pulling or prying, inspect the frame, release the appropriate fasteners, and stop if the screen resists or begins to bend.
1. Before You Start: Identify Your Window Screen
Not every window screen is designed to be removed in the same way. Taking a moment to identify its attachment mechanism can prevent damage to the mesh, frame, and window components.
Check the Screen’s Mounting Position
First, determine whether the screen is installed on the interior or exterior side of the window. Interior-mounted screens can often be accessed from inside the room, while exterior-mounted screens may require a different release method.
Never lean out of an upper-floor window to reach an exterior screen. If the screen cannot be accessed safely from inside, consult the window manufacturer’s instructions or arrange professional assistance.
Identify the Attachment Mechanism
Look along the screen frame, especially near the corners and side rails, for the following features.
| Attachment type | What to look for | What to check before removal |
|---|---|---|
| Pull tabs or finger pulls | Small handles, fabric tabs, or plastic grips attached to the frame | Whether pulling the tabs releases the frame or compresses a spring mechanism |
| Spring-loaded pins or plungers | Small pins or recessed release points near the frame edges | Which side contains the spring and how it is intended to retract |
| Swivel clips | Rotating plastic or metal retainers that overlap the screen frame | Whether the clips can be turned clear of the frame without forcing them |
| Screws or fasteners | Visible screws or other mechanical retainers | Whether the fasteners must be removed before the screen can move |
| Friction-fit frame | A frame held tightly against the window opening without obvious external fasteners | Whether the manufacturer specifies a particular direction or sequence for releasing it |
Some screens combine more than one attachment method. A screen may have pull tabs on one side and spring tension on the other, for example. Do not assume that the absence of visible tabs means the screen is permanently fixed.

Prepare the Work Area and Tools
Before starting, clear the area around the window and prepare a stable place to set the screen down. A clean, flat surface helps prevent the frame from twisting after removal.
Depending on the screen design, you may need:
- Work gloves to protect your hands from sharp frame edges.
- A soft cloth to protect the frame and nearby window surfaces.
- A suitable screwdriver if the screen uses removable screws.
- A plastic trim tool, but only if the manufacturer’s instructions permit its use for the specific attachment.
Avoid inserting sharp metal tools between the mesh and frame or using a screwdriver to force an unidentified fastening mechanism. If you cannot determine how the screen is secured, consult the manufacturer’s instructions before proceeding.
2. How to Remove a Window Screen by Window Type
The window’s opening style can help you narrow down the removal method, but it does not determine the attachment mechanism by itself. Screens from different manufacturers may use different clips, springs, and mounting arrangements even when fitted to similar windows.
How to Remove a Screen from a Double-Hung or Single-Hung Window
Double-hung and single-hung windows have vertically moving sashes. Their screens may be fitted inside or outside the window frame, depending on the design.
- Open the window enough to access the screen and its release points safely.
- Inspect the screen edges for pull tabs, spring-loaded pins, clips, or screws.
- Release the identified fasteners according to the screen’s design.
- If the screen is designed to lift or tilt out, follow the specified movement while supporting the frame with both hands.
- Once the screen is free, guide it away from the opening without twisting the corners.
Some screens are designed to be removed from inside, while others are retained by exterior mounting points. Do not force an interior removal method onto an exterior-mounted screen.
How to Remove a Screen from a Sliding Window
Sliding windows have sashes that move horizontally. Their screens may sit in a separate track and may use spring tension, clips, or other retainers.
- Identify the screen’s pull tabs or release points.
- Check whether the frame is held by spring tension or separate clips.
- Release the retaining mechanism before moving the frame.
- If the design calls for the screen to move within a track, follow the manufacturer’s specified direction to free it.
- Support the frame as it comes out, keeping its corners aligned rather than pulling one corner sharply away from the opening.
Do not assume that every sliding-window screen should be lifted, tilted, or pulled toward the room. The required direction depends on the track and retaining mechanism. If the screen does not move after the designated fasteners are released, stop and recheck the installation.
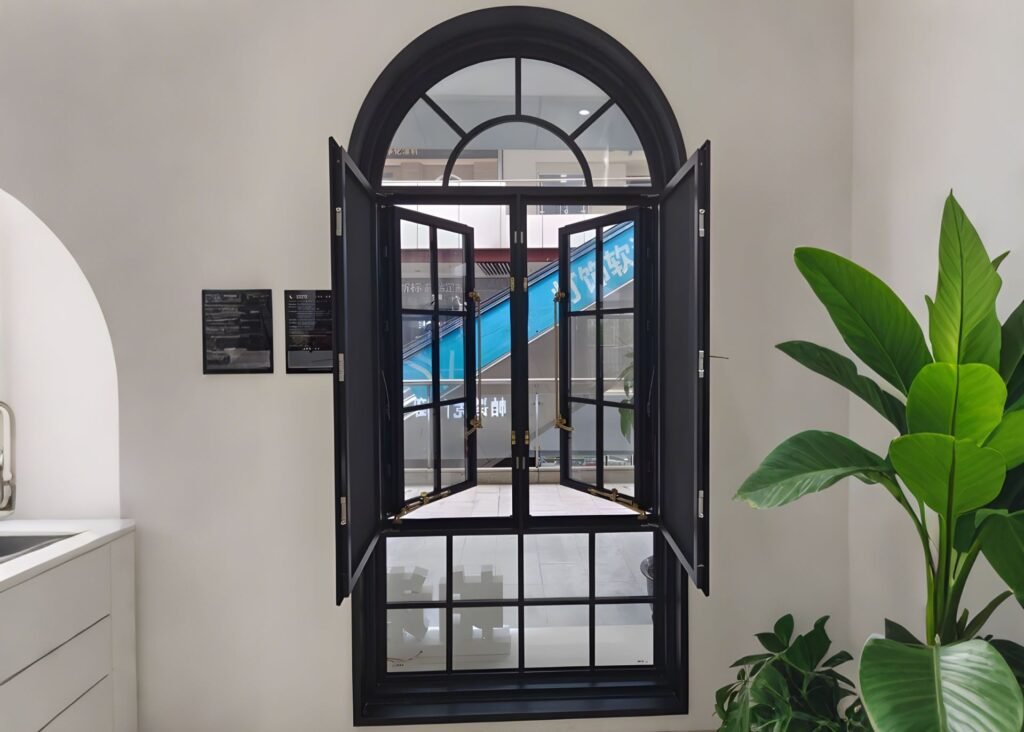
How to Remove a Screen from a Casement Window
Casement windows open outward on side hinges. Their screens are often positioned on the interior side, although configurations vary.
- Open the window only as much as needed to access the screen safely.
- Examine the screen frame for clips, pins, screws, or other retaining components.
- Release the fasteners in the sequence specified by the manufacturer.
- Support the screen with both hands while disengaging it from its mounting points.
- Move it away from the opening without pulling against the mesh or bending the frame.
If the screen is mounted outside the window or cannot be reached safely from indoors, do not attempt to remove it by leaning through the opening. Use the manufacturer’s guidance or seek professional assistance.
How to Remove a Screen from an Awning or Push-Out Window
Awning windows generally hinge at the top and open outward. Some use screen arrangements that differ from those found on sliding or vertically moving windows.
- Check whether the screen is mounted on the room side or outside the window.
- Locate any side-mounted springs, clips, or other release mechanisms.
- Determine whether the screen is intended to be removed from inside the room.
- Release the retaining mechanism using the prescribed method.
- Keep the frame supported as it separates from its mounting points.
Some awning and push-out window screens use spring-loaded components that are not immediately visible. Do not insert a blade between the screen and window frame in an attempt to find them. If the release points are unclear, consult the instructions for the specific window model.
How to Remove an Exterior-Mounted Window Screen
Exterior-mounted screens may be held by clips, screws, pins, or a dedicated mounting channel.
Before attempting removal, confirm that the screen can be reached and handled safely from your working position. If it is accessible from inside and the manufacturer provides an interior release method, follow that procedure.
If removal requires reaching outside, working from a ladder at height, or handling a screen that could fall, stop and arrange a safe alternative. A screen is not designed to support a person’s weight, and its frame or mesh should never be used as a handhold.
3. How to Remove a Window Screen Without Tabs
A missing pull tab does not necessarily mean that the screen is stuck or permanently installed. The tab may be absent, broken, hidden by the frame design, or unnecessary for that particular fastening system.
Use the following process to investigate the screen without damaging it.
Step 1: Inspect the Entire Frame
Examine all accessible sides and corners. Look for small pins, recessed release points, rotating clips, screws, or gaps that may reveal how the frame is retained.
Do not rely on the appearance of a single corner. The attachment points on opposite sides may serve different purposes.
Step 2: Check for Spring-Loaded Components
Some screens use springs or plungers to hold the frame in place. These components may sit along a side rail rather than next to a pull tab.
If you can clearly identify the release mechanism, follow the manufacturer’s instructions to retract or disengage it. Do not press unidentified parts or push the frame forcefully in an attempt to discover how the mechanism works.
Step 3: Determine Whether the Frame Is Mechanically Fastened
Look for screws or clips that may need to be released before the screen can move. If the frame is held by screws, use an appropriate screwdriver and retain the fasteners for reinstallation.
If no obvious fasteners are present, the screen may use a friction-fit design or a mounting channel. That does not automatically mean it should be pried out.
Step 4: Consult the Manufacturer if the Mechanism Remains Unclear
If the frame has no visible tabs and the attachment points are difficult to identify, look up the window or screen model. Product documentation may show the exact release method or identify whether the screen is intended to be removed by the homeowner.
Do not use a metal tool to pry against the mesh, screen corners, weather seals, or an unidentified part of the window frame. A broken tab or bent frame can turn a routine removal into a repair.
4. What to Do If Your Window Screen Is Stuck
A screen that will not move may still be secured by a fastener, spring, or clip. It may also be obstructed by dirt, paint, a damaged frame, or an installation problem. The important step is to identify the cause rather than applying more force.
| Problem | Possible cause | Recommended next step |
|---|---|---|
| The screen will not move at all | A fastener remains engaged, or the release mechanism has not been identified correctly | Reinspect all accessible edges and confirm the prescribed release sequence |
| The pull tab moves but the screen stays in place | The tab may operate only one part of the mechanism, or another retainer may still be engaged | Check the opposite side and other designated release points |
| One side comes loose but the other remains fixed | A second clip, spring, pin, or mounting point may still be engaged | Support the released side and inspect the remaining attachment points without twisting the frame |
| The screen appears stuck to the frame | Paint, debris, or a tight mounting channel may be obstructing removal | Inspect the accessible edges; do not cut through paint or force the frame without confirming the correct procedure |
| A clip or tab is broken | The release component may no longer function as intended | Stop applying force and identify the replacement part or manufacturer-approved repair method |
| The frame begins to bend | Excessive force, uneven pulling, or an unreleased fastener may be preventing movement | Stop immediately and release the tension; do not attempt to straighten the frame while it is still secured |
| The screen is outside and difficult to reach | The mounting position may not permit safe interior removal | Consult the manufacturer’s instructions or arrange professional assistance |
Should You Use a Screwdriver to Pry Out a Stuck Screen?
Not as a general solution. A screwdriver can damage the mesh, deform the frame, scratch the window, or break a clip if the attachment mechanism has not been identified.
A suitable non-marring tool may be appropriate for a specific design when the manufacturer explicitly recommends it. However, the tool should not be used to compensate for a release mechanism that is still engaged or unknown.
If the screen remains immovable after you have followed the correct instructions, professional help is safer than repeatedly increasing the force.
5. How to Reinstall a Window Screen Correctly
Removing the screen is only part of the task. Correct reinstallation helps ensure that it remains secure and does not interfere with the window’s operation.
Step 1: Check the Screen Before Reinstallation
Inspect the mesh for tears, the corners for separation, and the frame for bending. Check pull tabs, clips, springs, and other accessible components for visible damage.
If the frame is distorted or a retaining component is broken, do not assume that pressing the screen back into place will make it secure.
Step 2: Confirm the Original Orientation
If several screens are being removed, label each one with its original window location. This is particularly helpful when multiple screens look alike but have different dimensions or attachment arrangements.
Check for any manufacturer’s markings that indicate the correct top, bottom, interior, or exterior orientation.
Step 3: Align the Frame with Its Mounting Points
Position the screen according to its design. Make sure the frame is aligned with the appropriate track, clips, pins, or mounting channel before engaging the fasteners.
Do not force a corner into place while the opposite side is misaligned. Uneven pressure can bend the frame or damage the retaining components.
Step 4: Secure the Screen and Check Its Fit
Re-engage the designated clips, pins, tabs, or screws. Confirm that the frame is seated evenly and that the retainers are engaged as intended.
Finally, check that the screen is secure and does not obstruct the window’s normal operation. If it feels loose, sits unevenly, or will not remain in position, remove it only if safe to do so and recheck the alignment and fastening mechanism.
6. Common Mistakes to Avoid When Removing Window Screens
Even a simple screen can be damaged when the removal method does not match its design. Avoid these common mistakes:
- Pulling harder when the screen will not move. Resistance may indicate an unreleased fastener or an incorrect removal direction.
- Pulling only one corner. Uneven force can twist the frame and separate its corners.
- Assuming every screen has pull tabs. Some designs use concealed springs, clips, screws, or friction-fit mounting.
- Using sharp tools against the mesh. A small puncture or tear can compromise the screen and require mesh replacement.
- Prying against unidentified frame edges. The area may contain a retaining clip, seal, or fragile component.
- Ignoring damaged fasteners. A broken clip or tab may need repair before the screen can be removed safely.
- Reinstalling the screen without checking its fit. A loose or misaligned screen may fall out or interfere with window operation.
- Reaching outside to remove an inaccessible screen. Never risk a fall to complete routine maintenance.
The safest approach is to identify the attachment mechanism, release it as designed, and stop if the frame begins to deform or the screen cannot be reached safely.
7. FAQs
Can You Remove a Window Screen from Inside?
Yes, many window screens are designed for interior removal, but not all of them are. The correct method depends on the mounting position, window style, and fastening mechanism. Check the manufacturer’s instructions before attempting to release an exterior-mounted screen from indoors.
How Do You Remove a Window Screen Without Tabs?
Inspect the frame for spring-loaded pins, clips, screws, or other retaining components. Some screens do not use pull tabs at all. If you cannot identify the attachment mechanism, consult the manufacturer’s documentation rather than prying at the frame.
Why Is My Window Screen Stuck?
A screen may remain in place because a clip or spring is still engaged, debris or paint is obstructing the frame, or a component has become damaged. Check the accessible release points and follow the prescribed removal sequence. Stop if the frame starts to bend or the fasteners cannot be released.
Can All Window Screens Be Removed?
No. Many conventional screens are removable, but the method and degree of access vary. Some screens use specialized mounting systems or require specific tools. Confirm whether the screen is designed for homeowner removal before attempting to take it out.
Should You Remove the Screen Before Cleaning the Window?
Removing a screen can make it easier to clean the glass and the areas around the frame. However, whether removal is necessary depends on the window’s accessibility and the cleaning method. If the screen is difficult to release or cannot be handled safely, follow the manufacturer’s maintenance recommendations instead.
Conclusion
To remove a window screen without damaging it, identify its attachment mechanism before choosing a removal method. Release the correct fasteners, support the frame, and avoid forcing any component that will not move. If the screen is damaged, inaccessible, or difficult to release safely, consult the manufacturer’s instructions or seek professional assistance.